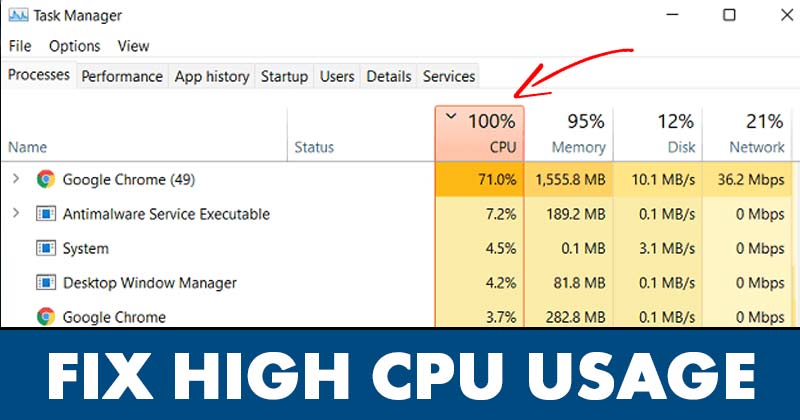
After installing Windows 11, many users have reported High CPU usage while using their PC. High CPU usage or the CPU usage stuck at 100% is common, especially on a new desktop operating system like Windows 11. Whenever a PC experiences excessively high CPU usage, users will face problems like poor performance, an app taking a long time to start, a system crash, BSOD, and more. However, the good thing is, high CPU usage is often the result of software problems, and it can be easily fixed.
8 Best Methods to fix High CPU Usage in Windows 11
So, if you are experiencing such problems on Windows 11, it is time for you to sit down, take a deep breath, and follow the best troubleshooting tips we have shared. Below, we have shared some of the best ways to fix High CPU usage in Windows 11. Let’s check out.
How to Check CPU usage in Windows 11?
The very first thing that you should do is to check your current CPU usage. If the CPU usage is stuck at 100%, you need to follow the steps. You can follow the steps also if you notice high CPU usage. To check CPU usage in Windows 11, open Windows 11 search and type in Task Manager. Next, open the Task Manager, and switch to the Performance tab. On the Performance tab, you need to notice the CPU usage.
1) Restart Your PC
Restart your PC now if you haven’t done so in a while. Just make sure to save all your tasks before you restart, as all your unsaved tasks will be lost once your restart your PC. When you restart your PC, all processes & apps get closed, giving your system time to cool down. In most cases, a simple restart will fix High CPU usage on Windows 11. However, if you are experiencing high CPU usage even after the restart, you need to follow the next methods.
2) Close Unnecessary apps
If you have lots of apps running in the background, you will face issues like High CPU usage regardless of whatever operating system you are using.
So, make sure to close the apps you are not using actively. This will definitely free up the CPU resources and improve your system performance. To close background apps, open Taskmanager, right-click on the program, and select the End Task option.
3) Change Background Usage for Apps
If you feel that the app you use often is responsible for high CPU usage in Windows 11, you can disable the background usage for those apps. If you do so, the app will only use the CPU resources when you are actively using them. Here’s what you need to do.
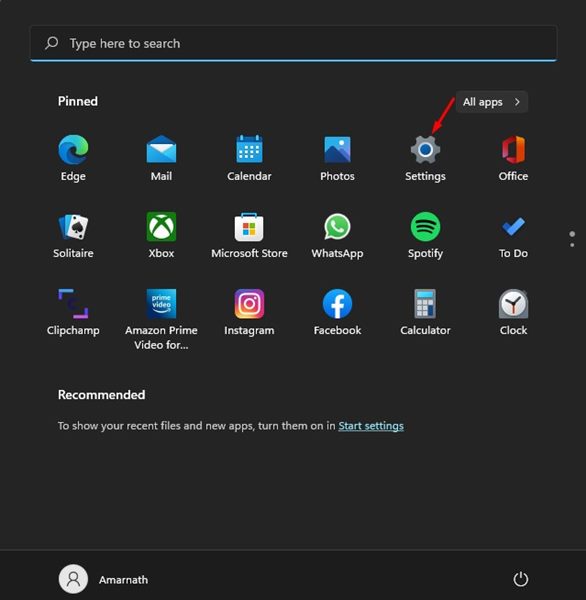
First of all, click on the Windows 11 Start button and select Settings.
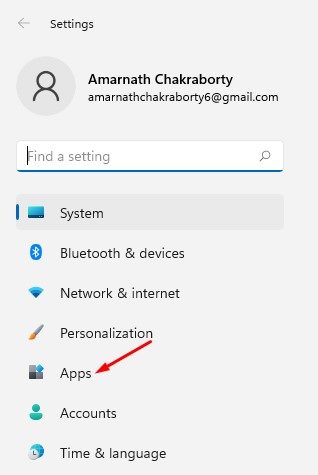
On the Settings page, click on the Apps section as shown below.
On the Apps, click on the Apps & features option as shown below.
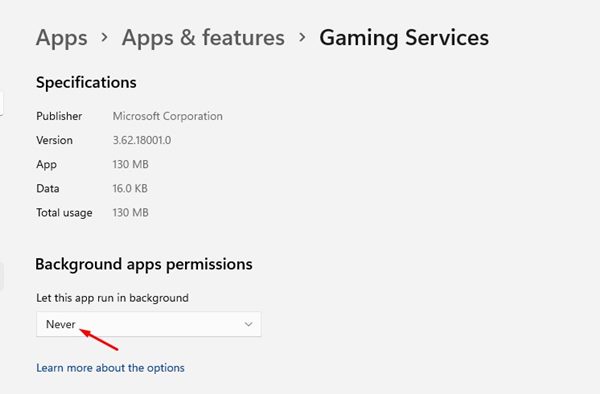
Under the Apps & features, select the app and click on the three dots beside the app name. From the drop-down menu, click on the Advanced options.
On the advanced options page, find the Background apps permission section. Now click on the drop-down menu for Let this app run in the background and select Never.
That’s it! You are done. This will prevent the app from running the background automatically.
4) Disable the SysMain or Superfetch
For those who don’t know, SuperFetch, which is renamed to SysMain in the latest Windows 10 build and Windows 11, is designed to pre-load data for commonly used apps. Due to the SysMain, the app loads faster and resumes your work exactly where you have left off. However, Superfetch or SysMain often leads to high CPU usage, especially on Windows 11 operating system. So, in this method, we will use SysMain to fix high CPU usage in Windows 11.
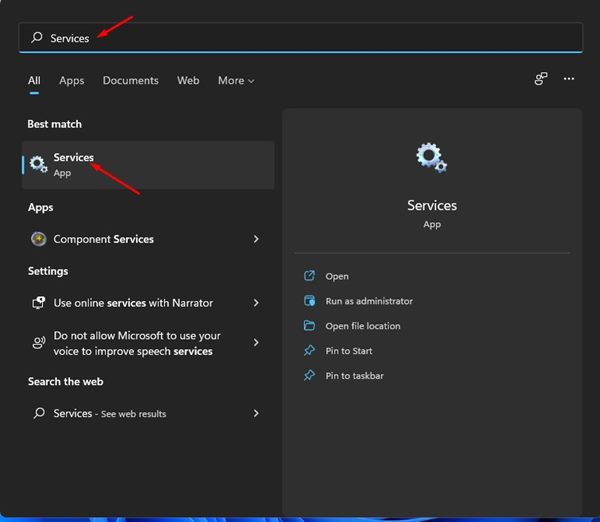
First of all, open the Windows 11 search and type in Services. Next, open the Services app from the list.
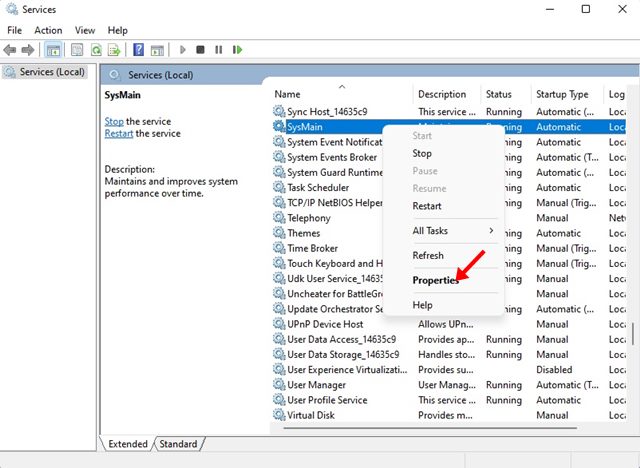
On the Services, find the SysMain service. Right-click on the service and select Properties.
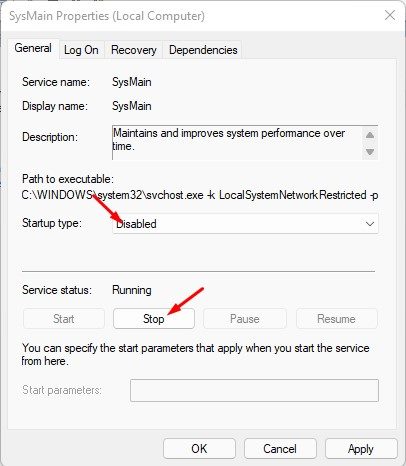
On the SysMain Properties, select Disabled on the Startup type and click on the Stop button on the Service status. Once done, click on the Ok button.
That’s it! You are done. This will disable Superfetch or SysMain on Windows 11 and will free up the CPU resources.
5) Change the Power Plan
Incorrect settings in the Power Plan often lead to excessive use of CPU usage on Windows 11. It’s not a sure-shot fix, but it’s worth a try. Hence, in this method, we will restore the default settings for Power Plans to fix high CPU usage in Windows 11.
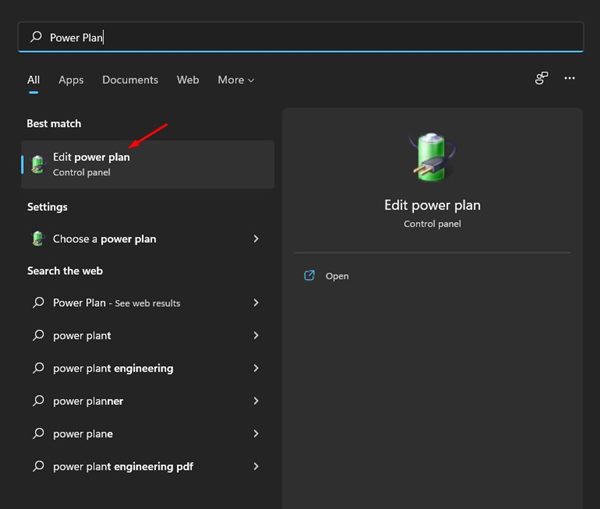
First of all, open the Windows 11 search and type in Power Plan. Next, click on the Edit Power plan option from the list.
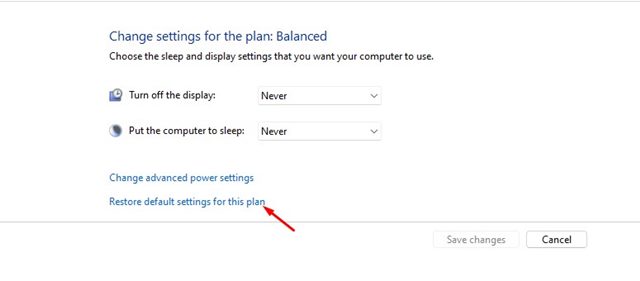
On the Edit Plan Settings page, click on the Restore default settings for this plan link.
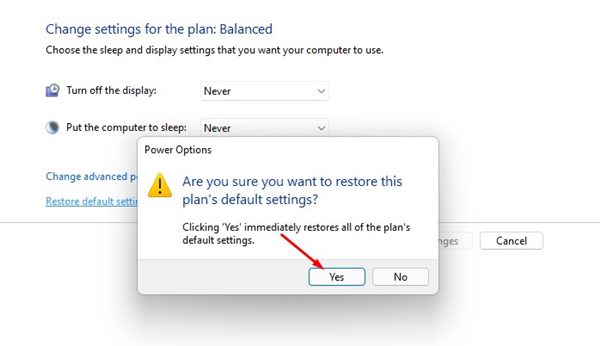
You will now see a confirmation prompt. Simply, click on the Yes button to restore the default settings.
That’s it! After making the changes, make sure to restart your computer.
6) Scan for Malware
Several malware for PC can raise both the memory and the CPU usage of your PC. So, if you have recently installed any new program, and after which you face High-CPU usage, you need to remove that program.
If you don’t remember the program, you need to run a full system scan with a reliable and powerful anti-malware program like Malwarebytes. Or else, you can rely on the Windows Security application to scan your system for viruses & malware.
7) Update your Windows 11
If the 100% CPU usage in Windows 11 is happening due to a system bug, there’s nothing much you can do. You need to wait for a fix or install the available updates. If you are using an outdated version of Windows 11, you are bound to face stability issues. So, make sure to update your Windows 11 operating system. Here’s how to update Windows 11.
First of all, click on the Windows 11 Start button and select Settings.
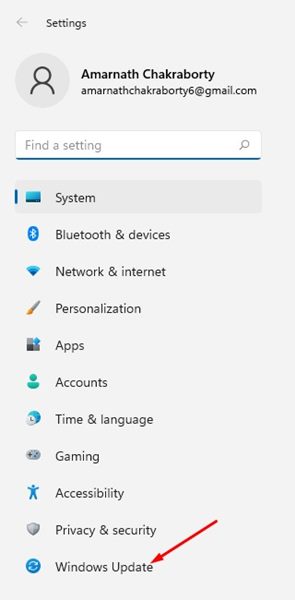
On the Settings page, click on the Windows Update option.
On the right click on the Check for updates button.
That’s it! You are done. Now Windows 11 will search for updates and will install on your device.
8) Check the Hardware Issue
If you are still facing high CPU usage issues on Windows 11, even after following the above methods, you need to check for the hardware issues. Often, hardware issues are the root cause of excessive or 100% CPU usage. There might be some issues with the power supply or the processor itself. If the CPU is heating due to dust buildup on the heatsink, you need to get it cleaned. In order to resolve hardware issues, you will need to take your PC to a local service center and explain the problem. Also read: How to Stop Automatic Updates on Windows 11 If you have followed all the methods, and if the hardware is not faulty, then the high CPU usage on Windows 11 will be fixed for sure. I hope this article helped you! Please share it with your friends also. If you have any doubts related to this, let us know in the comment box below.
Δ